


Introduction
I have a Hackathon coming up and noticed that many articles on connecting a wallet button were outdated and this method seemed to work so I hope it helps someone out there!
This was made for beginner devs so if you are advanced this might make you a bit bored. Just a warning!
The inspiration for this blog was - link to main source blog
[blog.anishde.dev/make-a-beautiful-connect-w..
I noticed that the instructions from the blog are a bit intermediate. I'm including some of my notes to make it easier for beginners.
Before you start make sure to be using a dummy wallet. Do not use your main wallet for safety purposes.
Creating a Next.js app
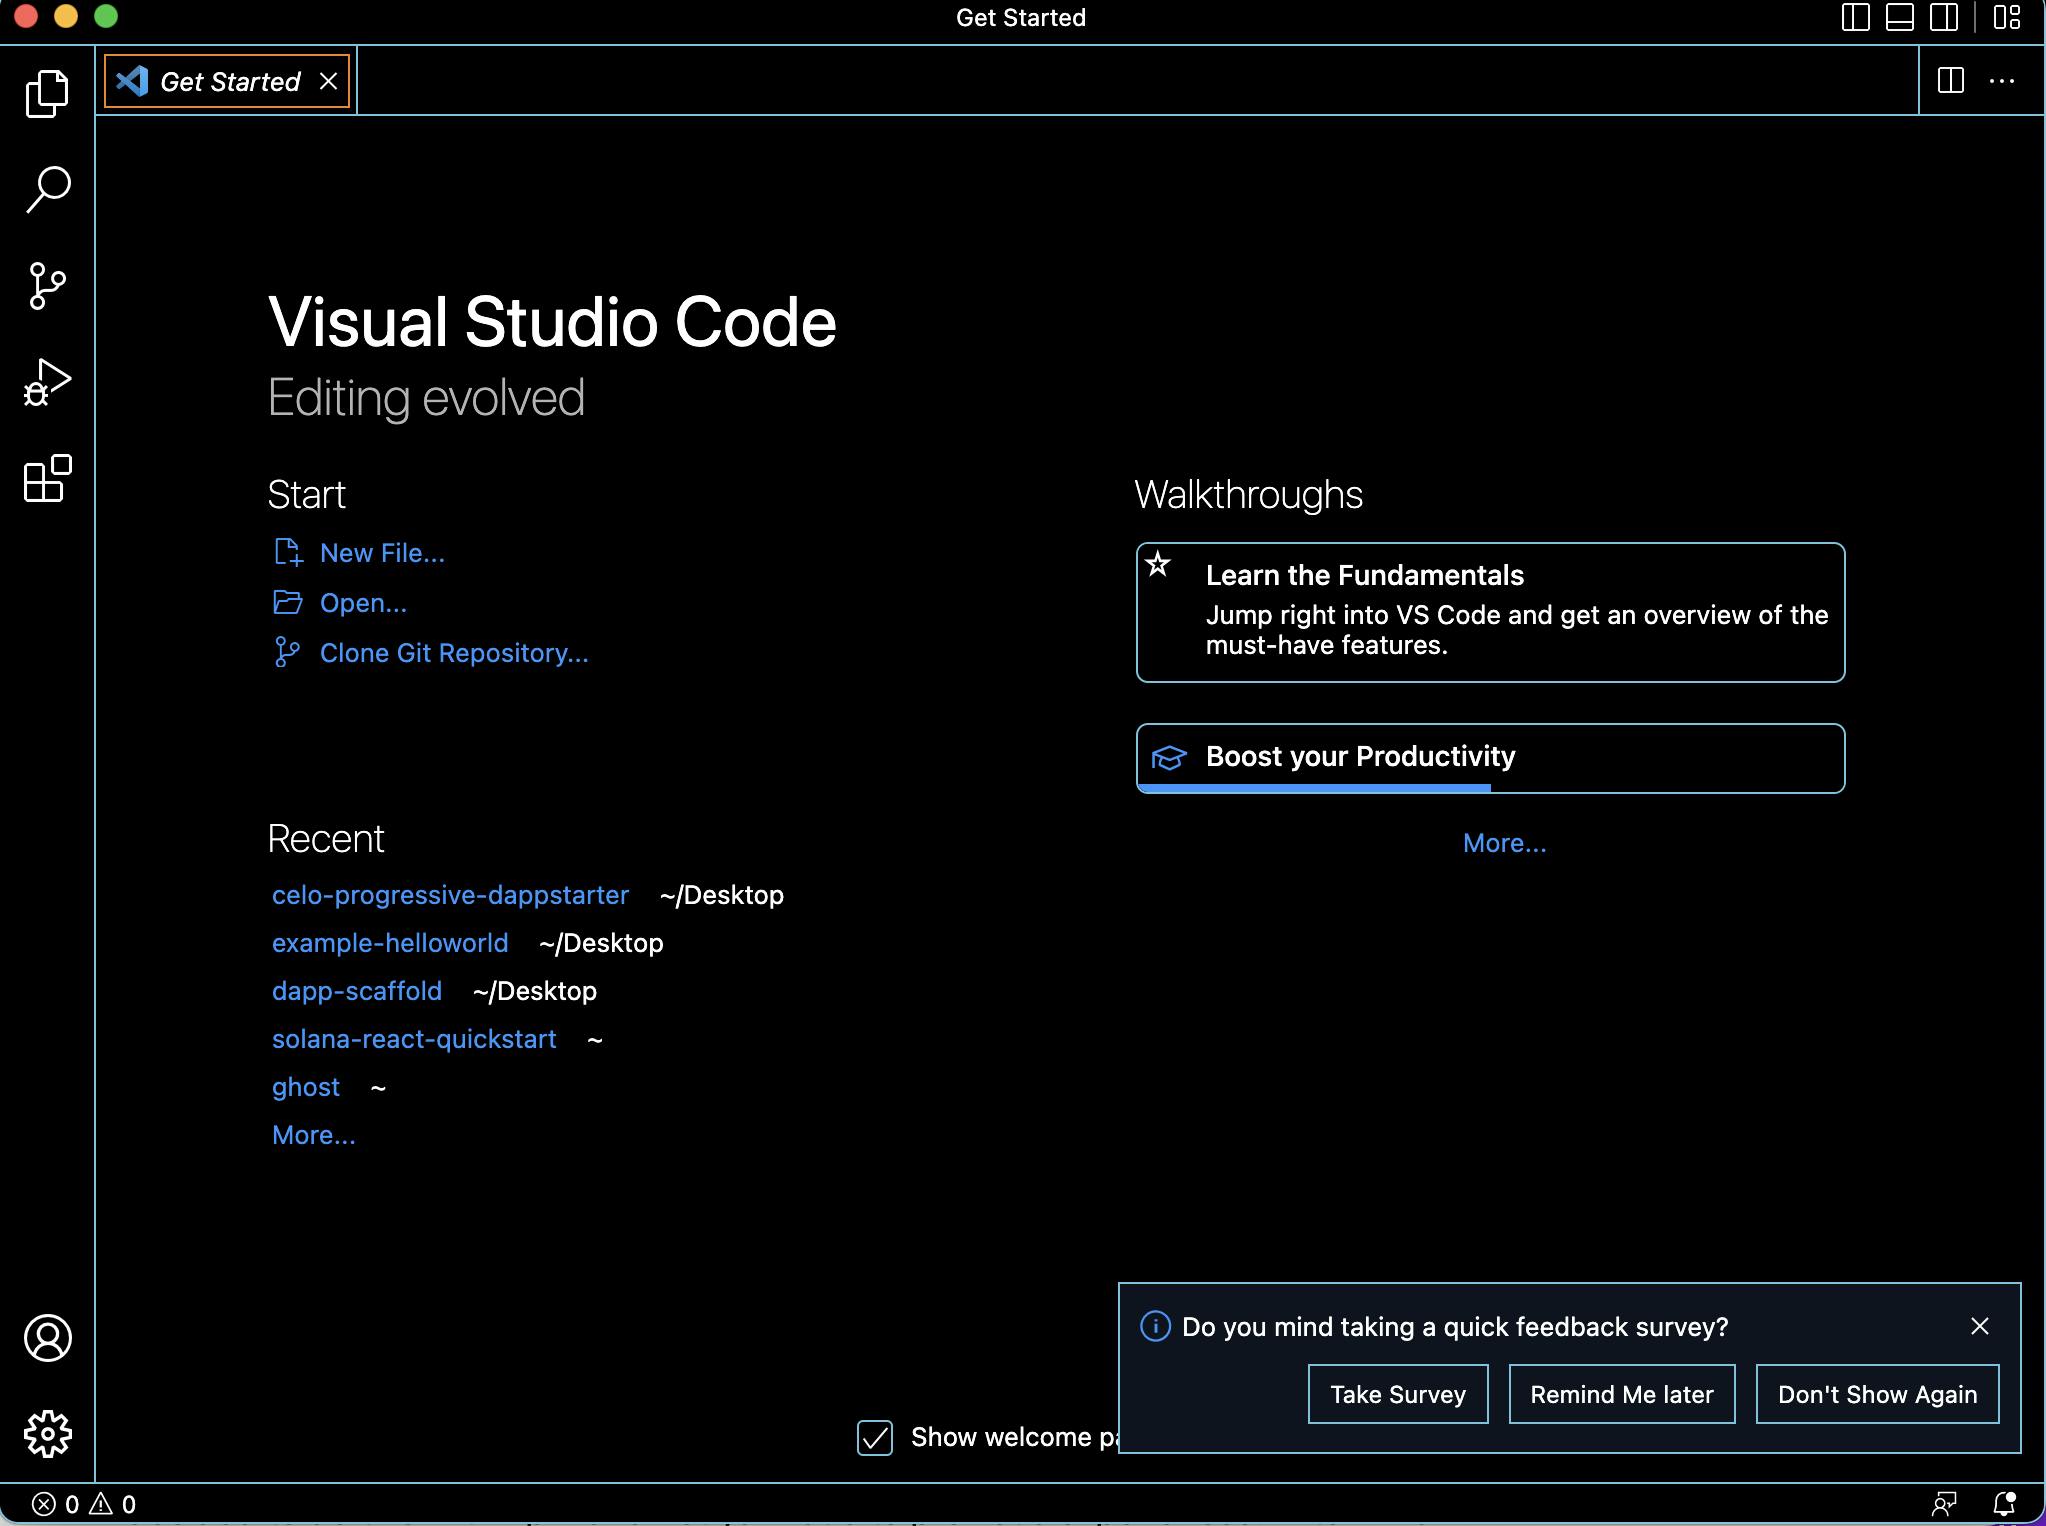
- Open VS Code (Visual Studio Code)
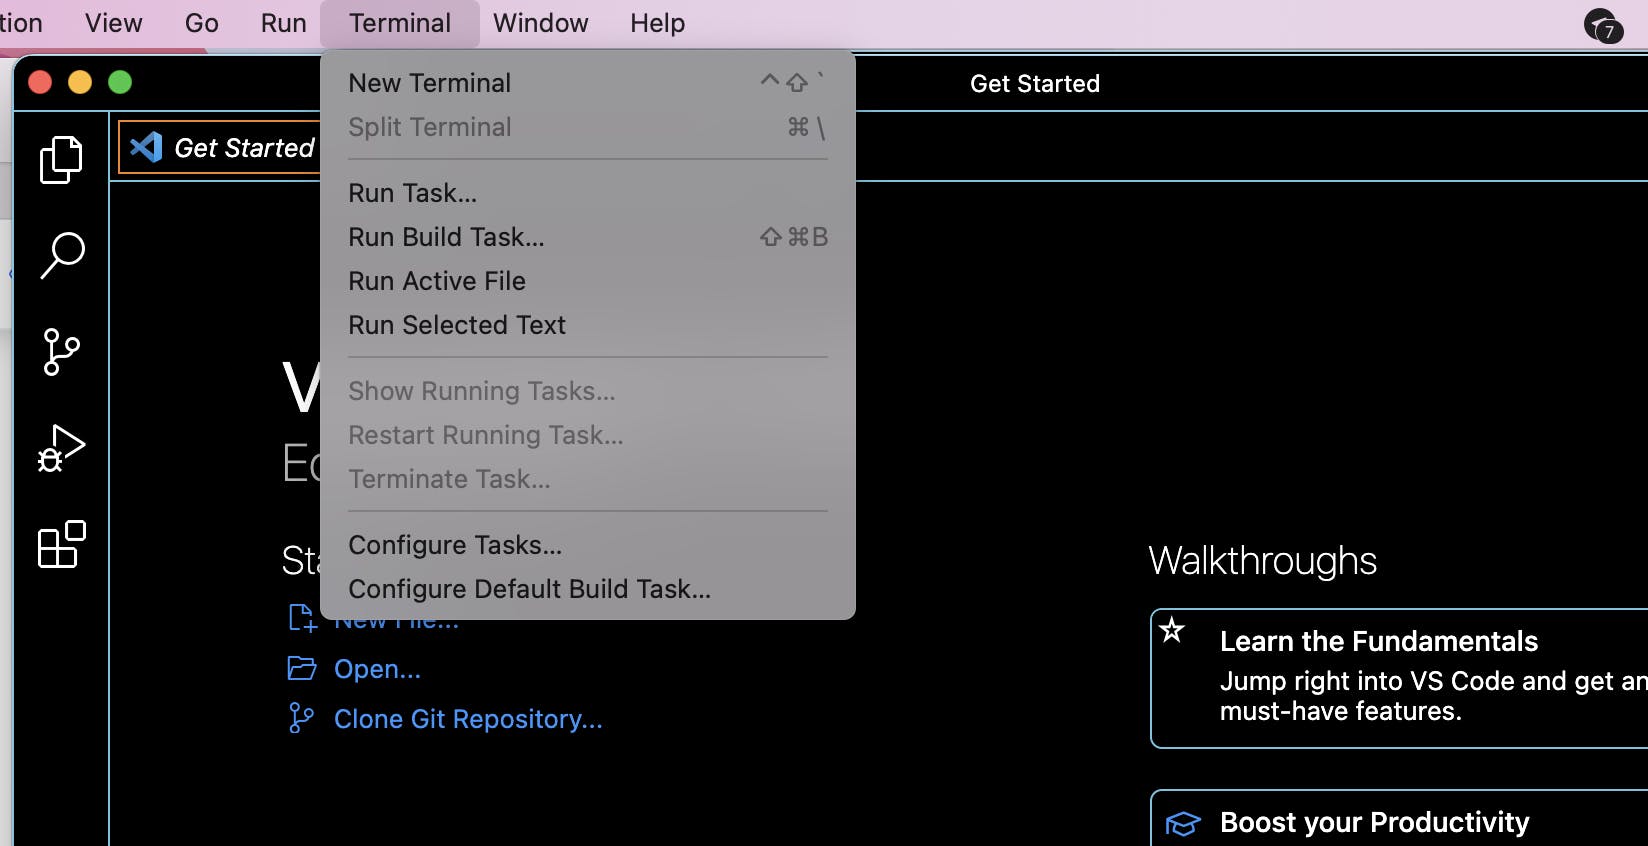
- Click on the tab terminal and click new terminal.
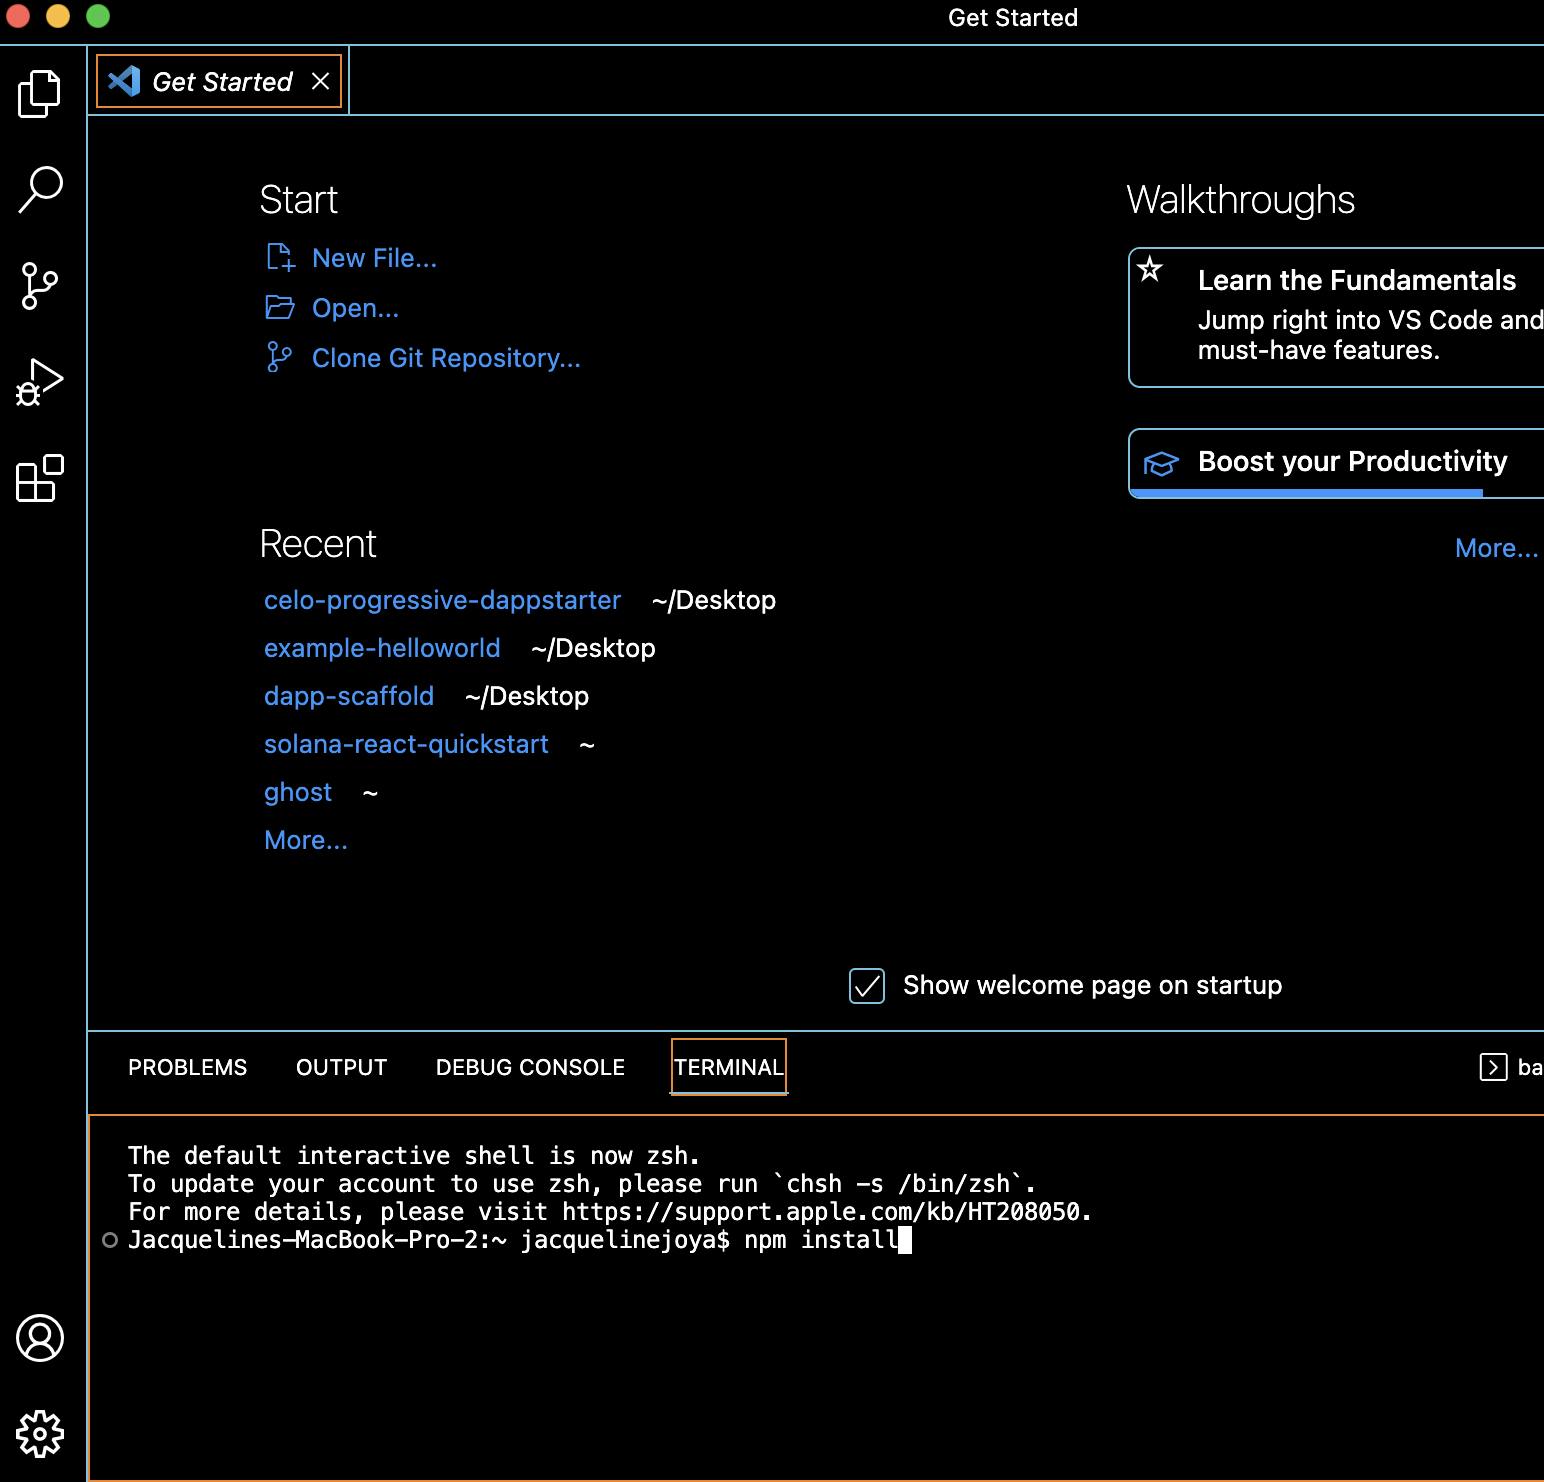
In terminal first run npm install (type it in and click enter).
Then go to where you would like the rainbow kit demo to be installed. My preference is the desktop to find it quicker.
In terminal type in cd desktop
Then there is the option to install with npm or yarn.
I decided to do this with npm and not yarn due to previous experiences. In terminal please include
With NPM
npm init @rainbow-me/rainbowkit@latest
and then click enter
Then open the folder in VS code. Should be in desktop if that is where you saved the folder
This is a glimpse of what it would look like.
Check out the Readme.md first to inspect instructions and then
Now open a new terminal. Let gets to work!
Next we will be adding Rainbowkit to our React app.
In the new terminal input (still running with NPM)
With NPM
npm install @rainbow-me/rainbowkit wagmi ethers
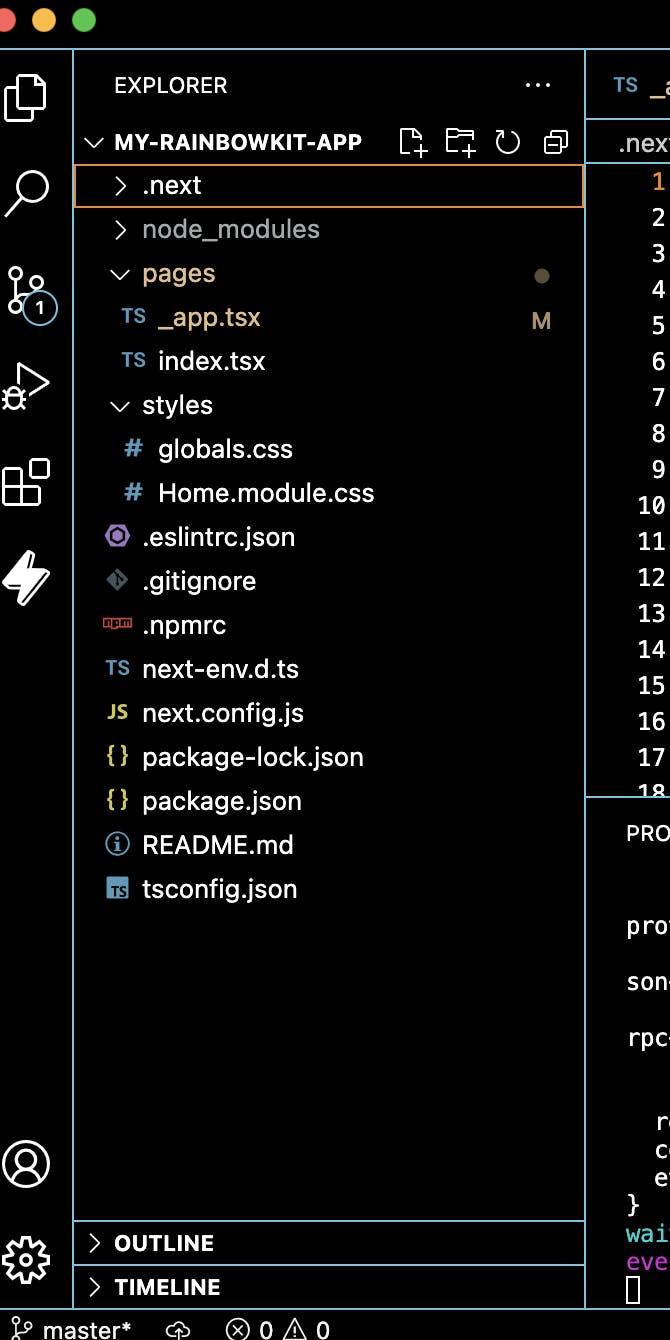
Underneath the RainbowKit-APP you will see a list.
Click on the “>pages”
Another list will appear. This time click on “_app.tsx”
After you click, the page will appear as such
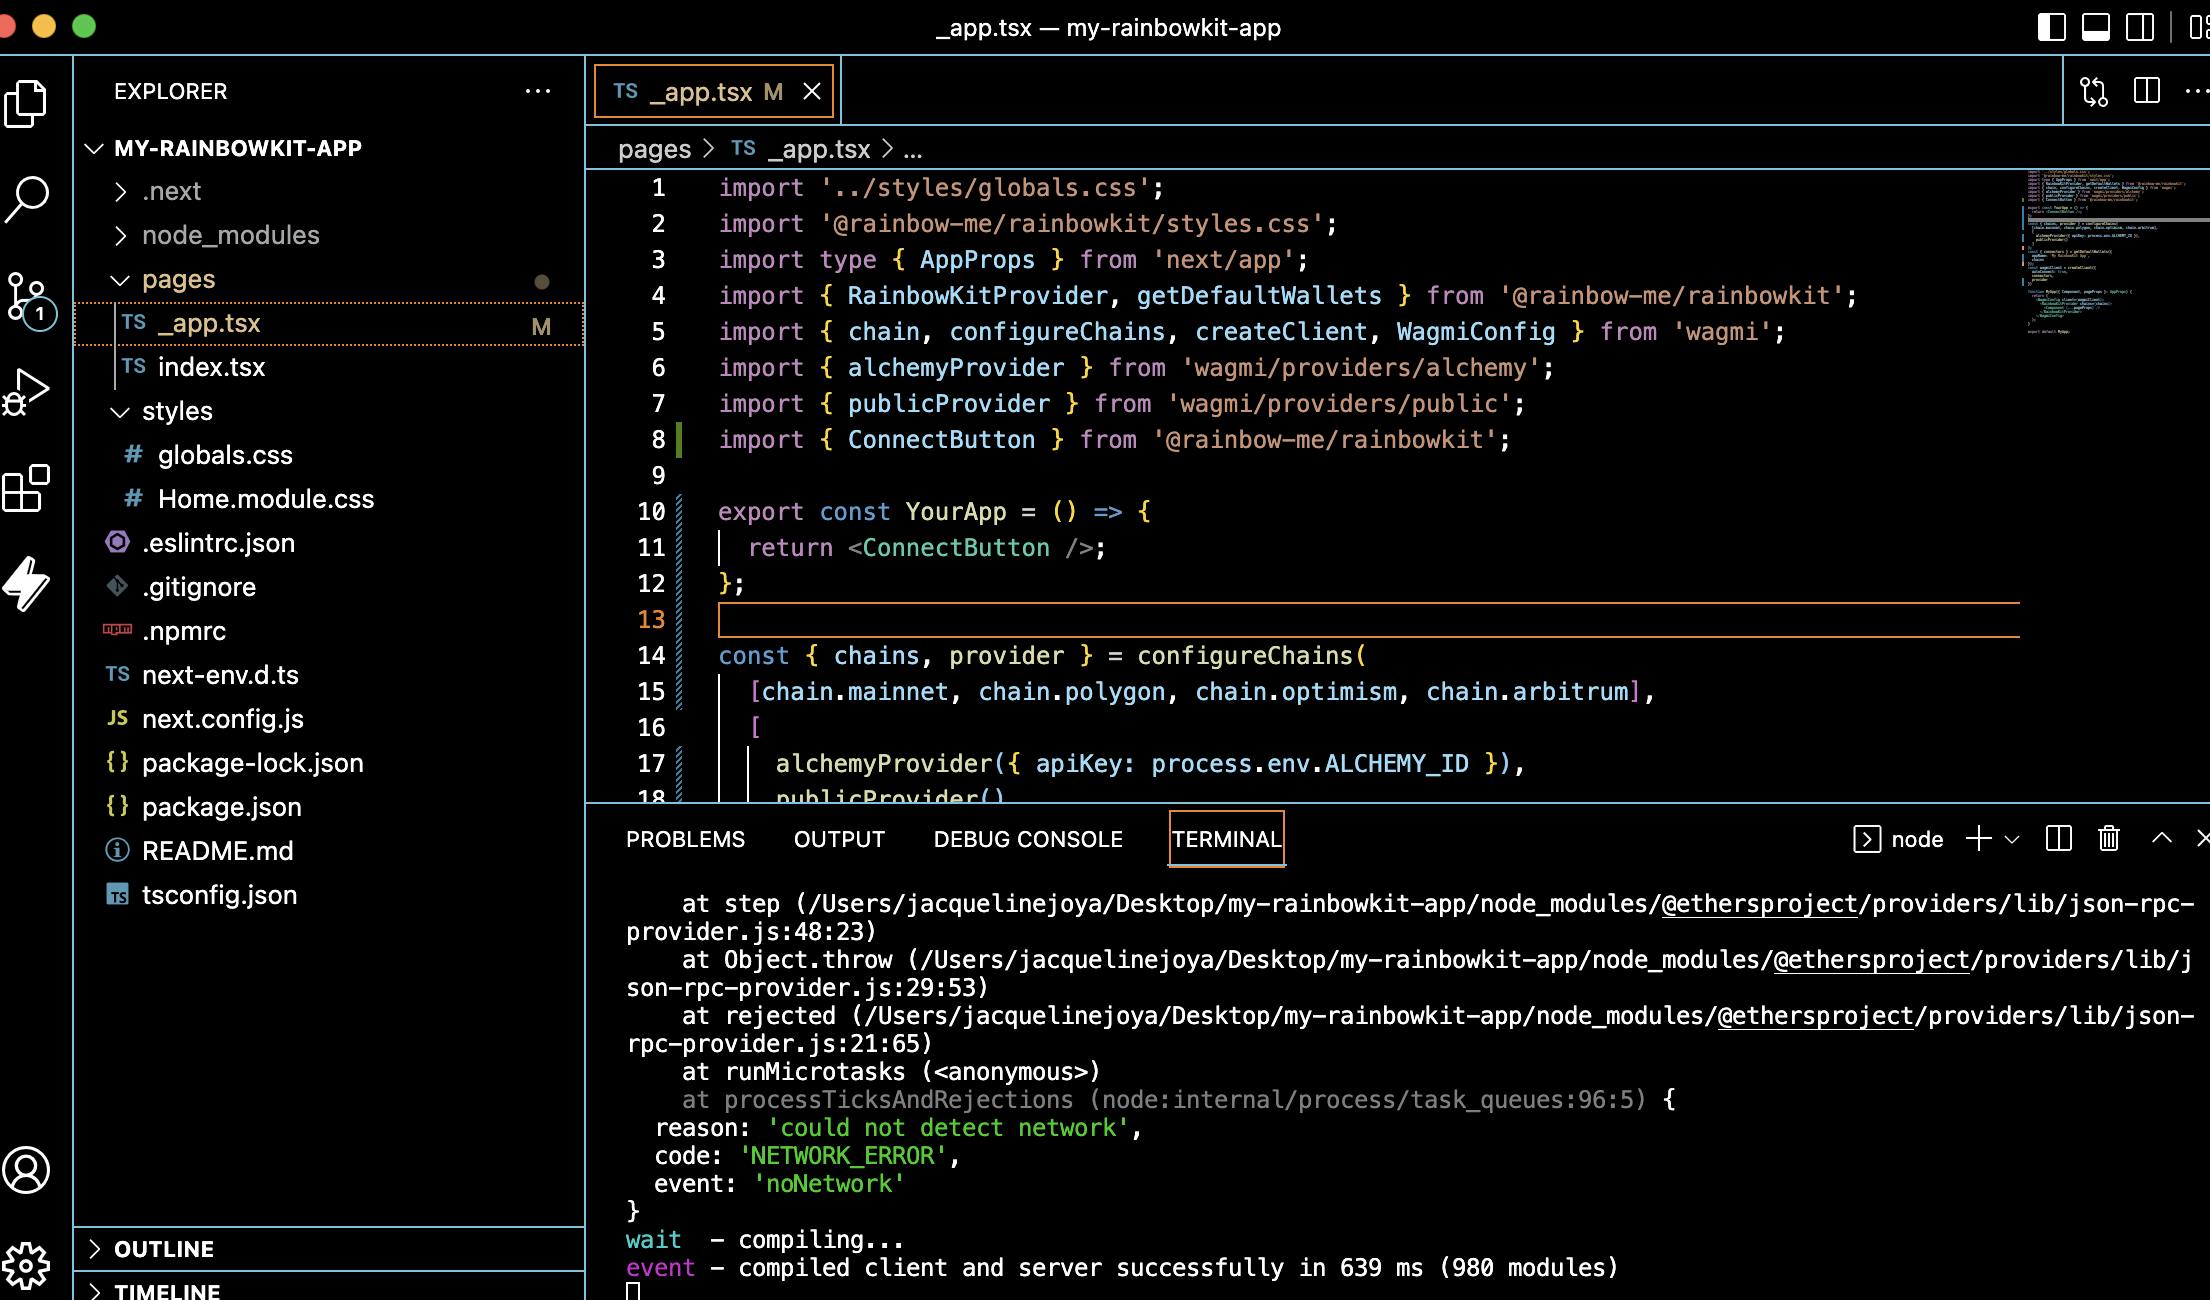
Now in the page we will make a few changes. Delete what is in there and then add the code
import '../styles/globals.css';
import '@rainbow-me/rainbowkit/styles.css';
import type { AppProps } from 'next/app';
import { RainbowKitProvider, getDefaultWallets } from '@rainbow-me/rainbowkit';
import { chain, configureChains, createClient, WagmiConfig } from 'wagmi';
import { alchemyProvider } from 'wagmi/providers/alchemy';
import { publicProvider } from 'wagmi/providers/public';
import { ConnectButton } from '@rainbow-me/rainbowkit';

export const YourApp = () => {
  return <ConnectButton />;
};

const { chains, provider } = configureChains(
  [chain.mainnet, chain.polygon, chain.optimism, chain.arbitrum],
  [
    alchemyProvider({ apiKey: process.env.ALCHEMY_ID }),
    publicProvider()
  ]
);
const { connectors } = getDefaultWallets({
  appName: 'My RainbowKit App',
  chains
});
const wagmiClient = createClient({
  autoConnect: true,
  connectors,
  provider
})

function MyApp({ Component, pageProps }: AppProps) {
  return (
    <WagmiConfig client={wagmiClient}>
      <RainbowKitProvider chains={chains}>
        <Component {...pageProps} />
      </RainbowKitProvider>
    </WagmiConfig>
  );
}

export default MyApp;
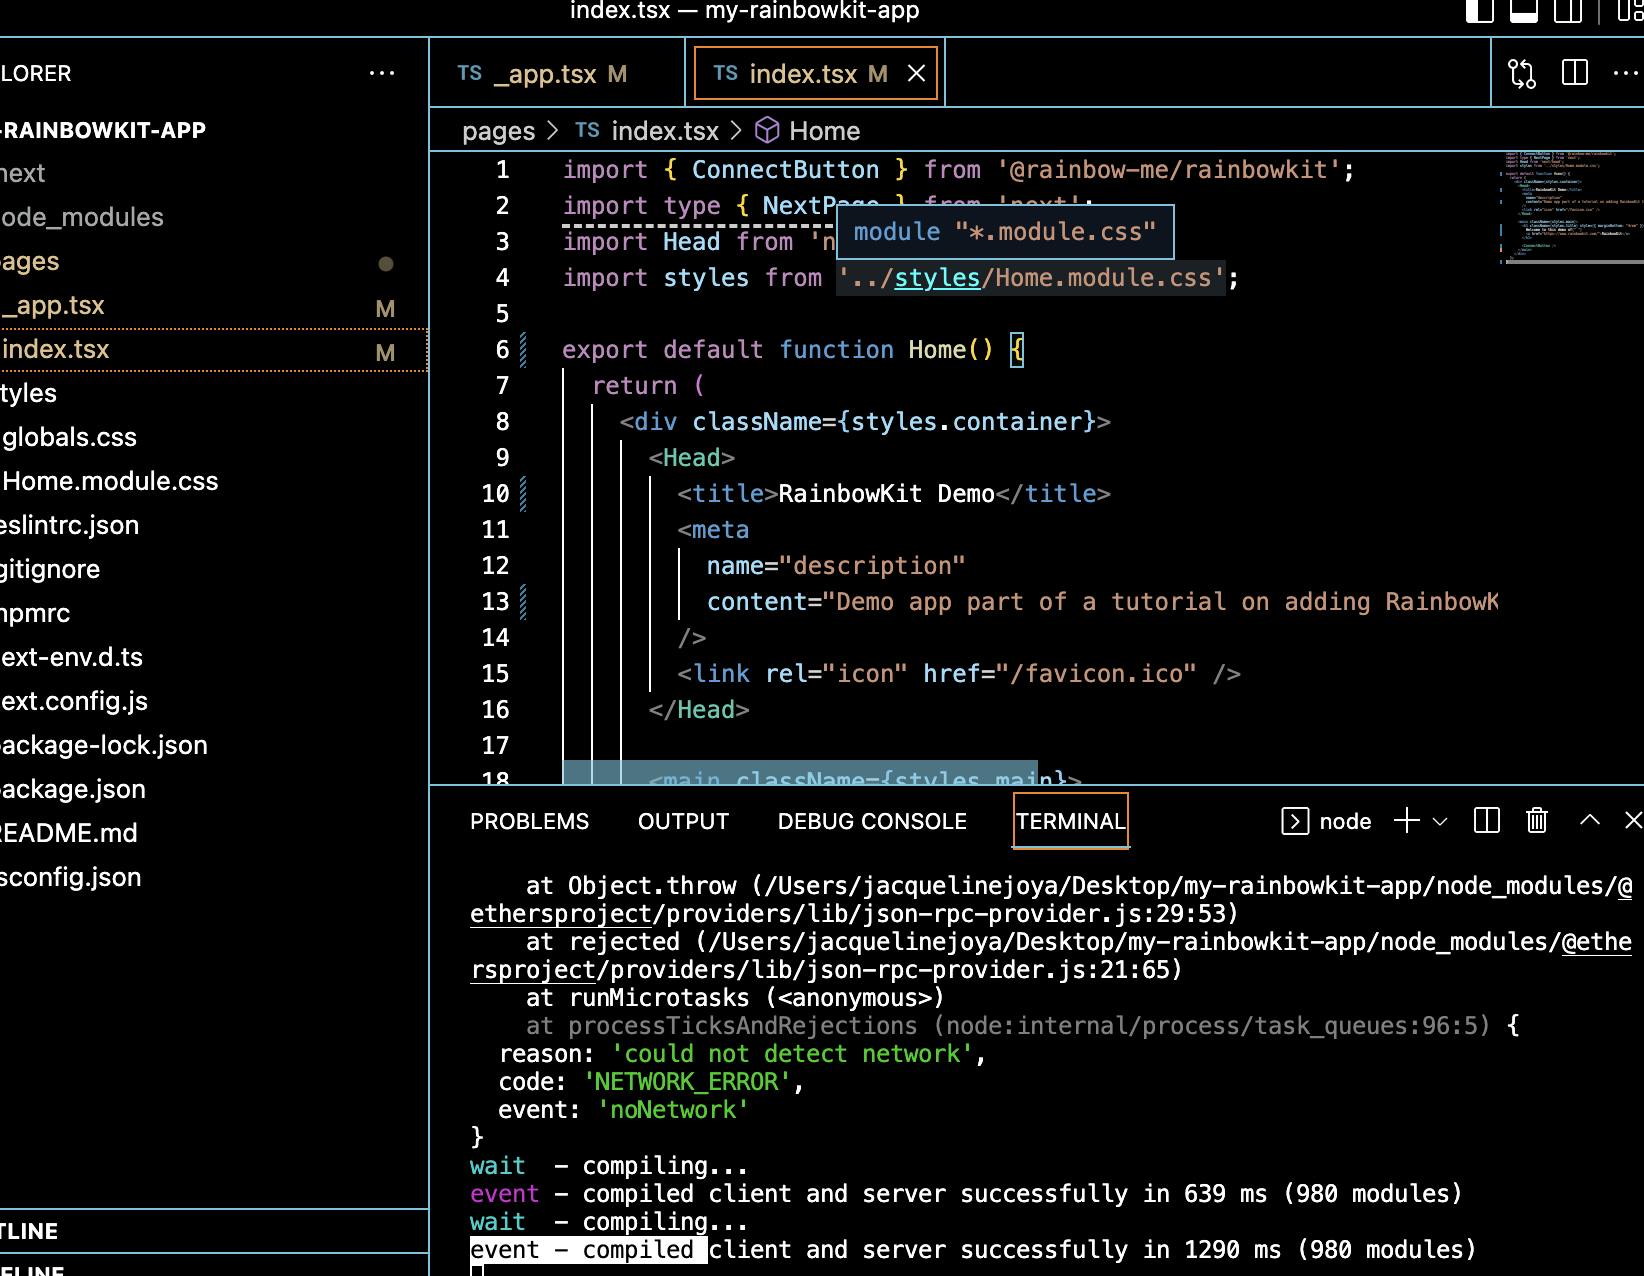
Next up we will be changing the front end view of the page with our connecting wallet. Replace the code in pages “index.tsx “ after the import section with
export default function Home() {
return (
<div className={styles.container}>
<Head>
<title>RainbowKit Demo</title>
<meta
name="description"
content="Demo app part of a tutorial on adding RainbowKit to a React application"
/>
<link rel="icon" href="/favicon.ico" />
</Head>

  <main className={styles.main}>
    <h1 className={styles.title} style={{ marginBottom: "4rem" }}>
      Welcome to this demo of{" "}
      <a href="<https://www.rainbowkit.com/>">RainbowKit</a>
    </h1>

    <ConnectButton />
  </main>
</div>


);
}
Snippet of how code should look like
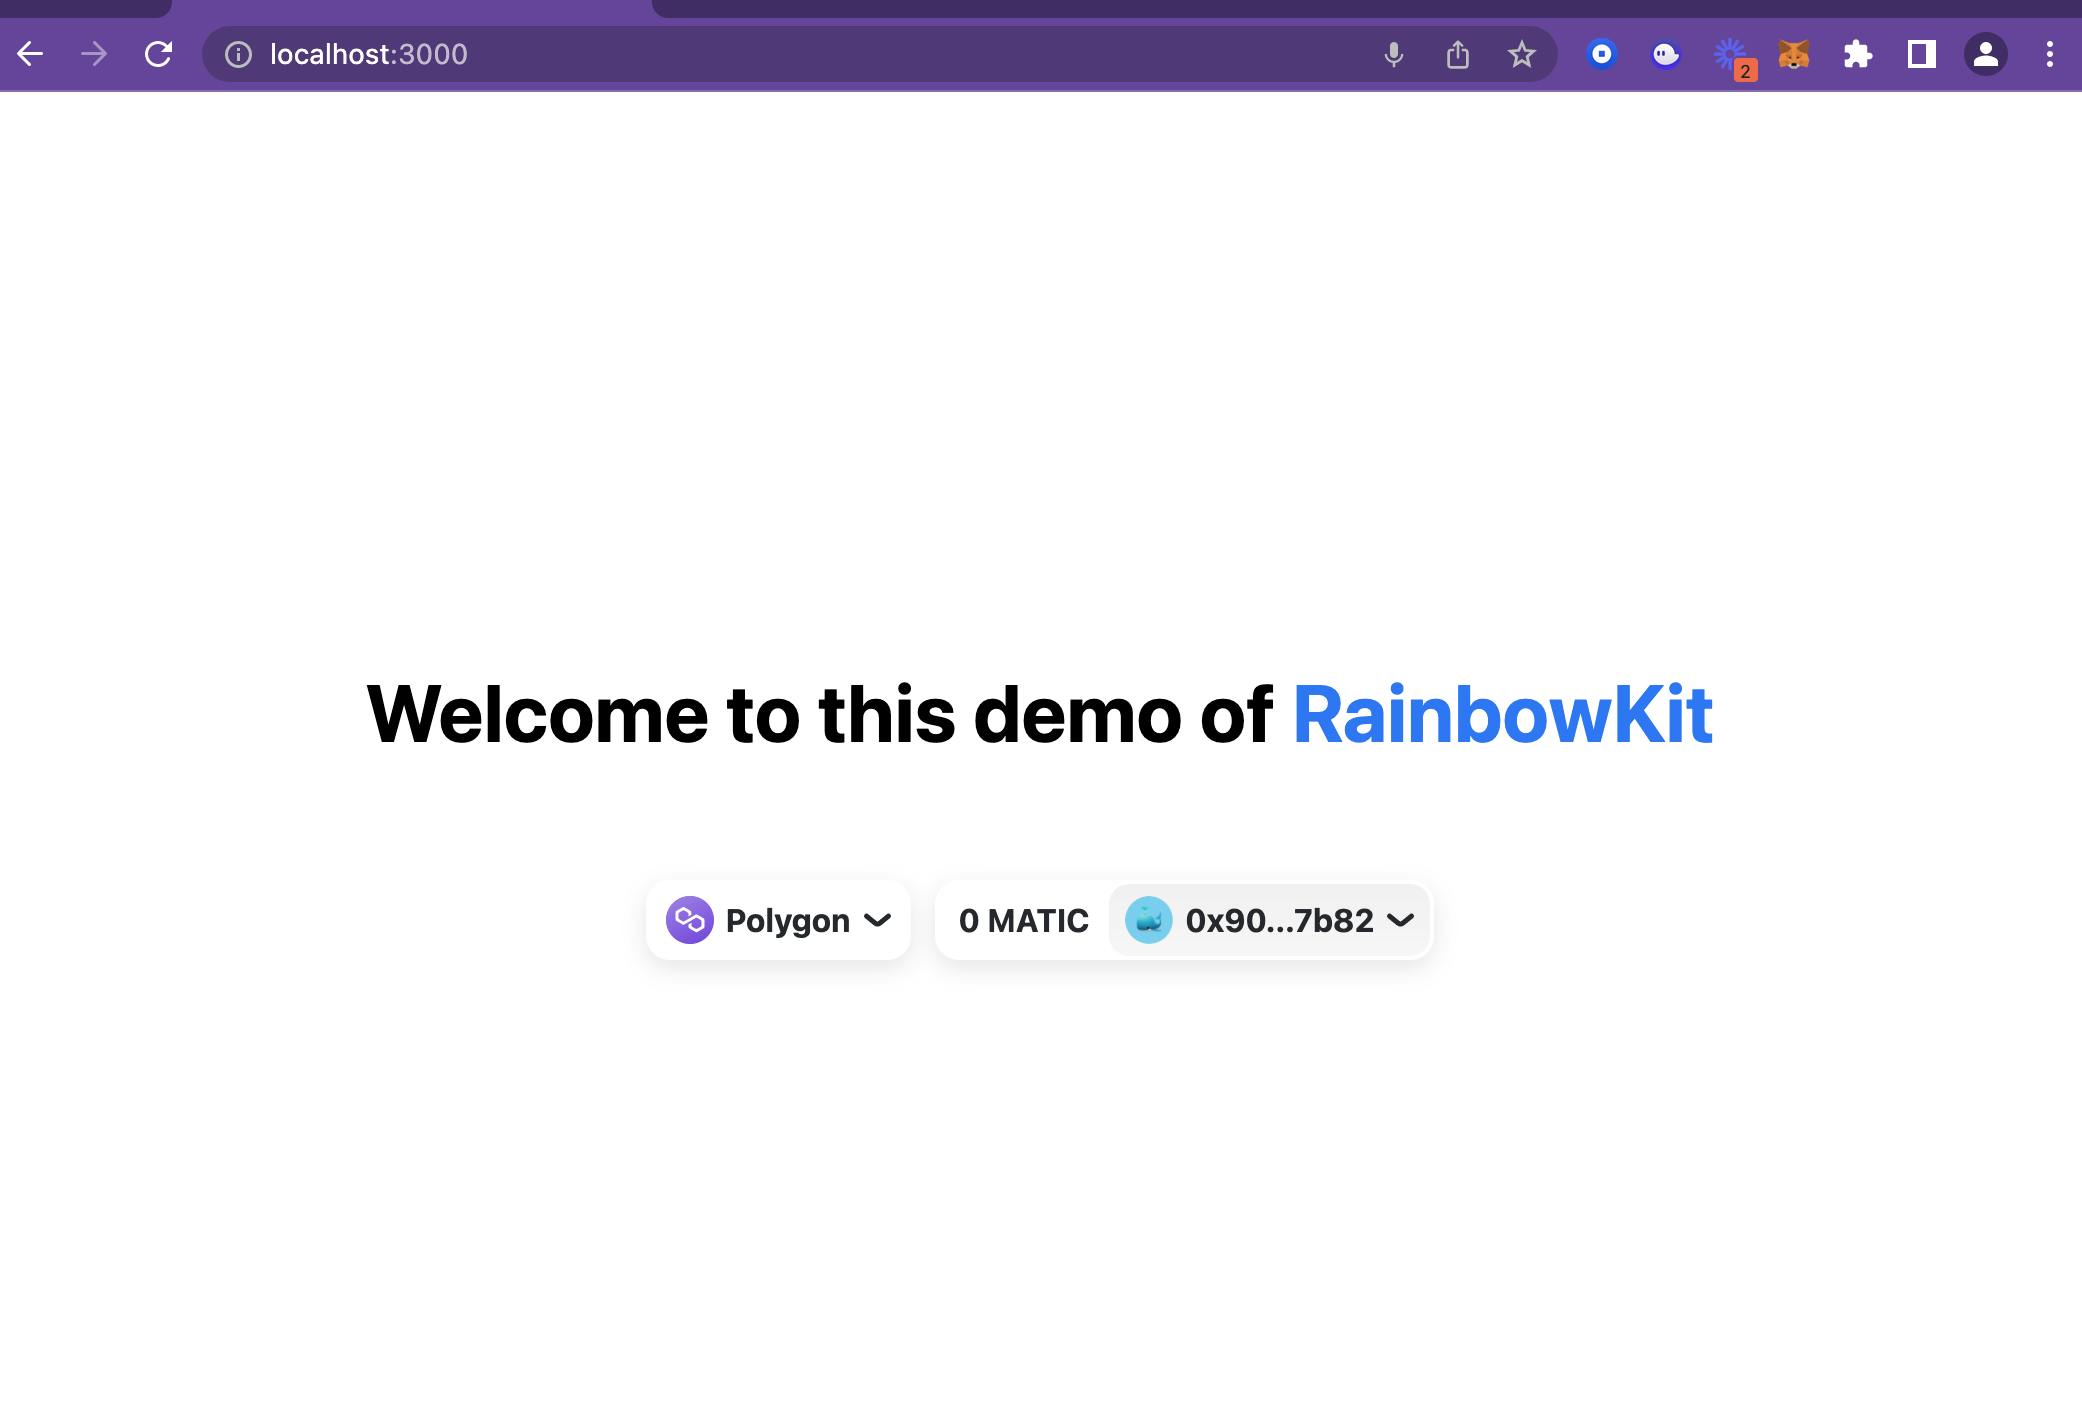
And how our page should look like. Don't forget to input “npm run dev” in your terminal if you haven’t already to see the image.
 Hope you found this article helpful!
For more resources please check out https://blog.anishde.dev/make-a-beautiful-connect-wallet-button-with-rainbowkit-and-react. article or check out rainbowkit as well!
https://www.rainbowkit.com/docs/introduction
Have a wild day!!